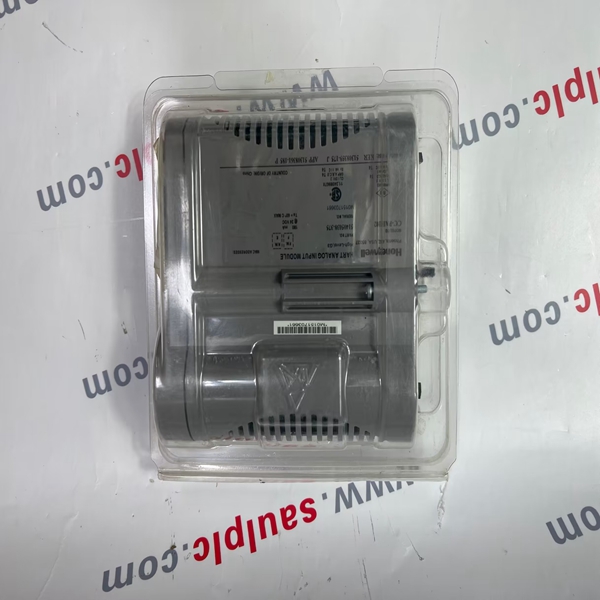
Brand:HONEYWELL
Model number:TK-IAH161
Colour:new
Warranty: 12 months
Lead Time:3-day working day
Country of origin: USA
Price: Please contact us
Product weight:0.22kg
hipping Port: China
Payment: Bank of Chicago, Bank of Singapore
Express cooperation: fedex, DHL, UPS and your express account
Servzce: Professional Sales provides 24 hours /7 days online service
TK-IAH161 Honeywell
All Series C components feature an innovative design that supports enhanced heat management. This unique look
provides a significant reduction in overall size for the equivalent function.

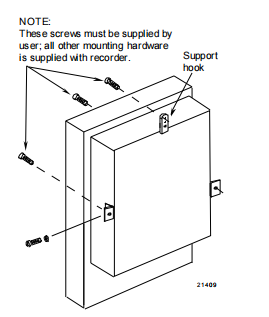
Refer to Figure 2-10 and follow the procedure in Table 2-9 to mount your recorder on a surface (panel or
wall).
ATTENTION
You must supply three (3) screws for attaching the mounting hardware (brackets and support
hook) to panel or wall.
Table 2-9 Mounting flush on a surface (of panel or wall)
Step Action
1 Using two flat-head 10-32 x 1/4-inch screws supplied with the recorder, fasten the support
hook into the recess at the back of the recorder case as shown in Figure 2-10.
2 Using 1/4-20 x 1/2-inch hex screws and lockwashers, attach a mounting bracket to each side
of the case. Leave the screws slightly loose so as to permit some adjustments of the brackets.
3 On the panel mark the locations for the three holes as shown by the hole pattern in Figure
2-10.
4 Using a drill of appropriate size for user-supplied screws, drill a hole in the front of the panel for
the eye of the support hook.
5 Insert the screws for the support hook into the panel, allowing the screw head to protrude
approximately 5/16-inch.
6 Hang the recorder support hook on the screw. Make sure that the locations for the other two
holes (marked in step three) are correct. If not, make sure that the recorder is aligned vertically
and use the brackets as templates to mark the proper locations.
7 Remove the recorder from the panel and drill the other two holes.
8 Hang the recorder on the screw by the support hook and insert the other two user-supplied
screws through the brackets into the panel. Tighten the two hex screws that attach the
brackets to the case

We have the same series of models in stock. If you don't find the model you need, please contact us and we will provide you with an official quotation!
HONEYWELL 30750338-005
HONEYWELL 51403393-100
HONEYWELL 30751044-4
HONEYWELL 30751044-009
HONEYWELL 30751044-7
HONEYWELL 51403393-200
HONEYWELL 4DP7APXIO211
HONEYWELL 30750318-2
HONEYWELL 30750318-3
HONEYWELL 51196882-100
HONEYWELL 51304095-100
HONEYWELL 51400997-200
HONEYWELL 51401088-100
HONEYWELL 51400926-100
HONEYWELL 51304537-100
HONEYWELL 51401583-200
HONEYWELL 51401583-100
HONEYWELL 51401996-100
HONEYWELL 51304421-100
HONEYWELL 51304441-175
HONEYWELL 51107137-117
HONEYWELL 51196654-100
HONEYWELL 51196653-100
HONEYWELL 51400712-100
HONEYWELL 51204166-175
HONEYWELL 51401201-100
HONEYWELL 51401577
You are welcome to make an inquiry
E-mail:
free@fenoux.com
Tel.:
+86 133 7698 4225
Skype:
+86 133 7698 4225
WhatsApp:
+86 133 7698 4225