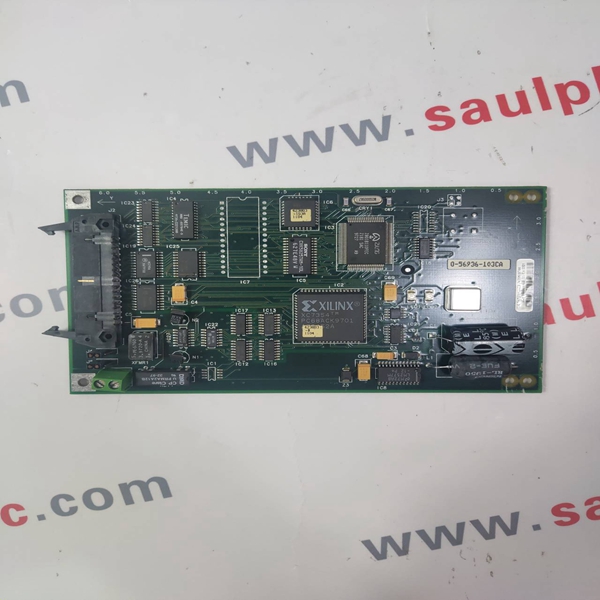
Brand:HONEYWELL
Model number:620-0089C
Colour:new
Warranty: 12 months
Lead Time:3-day working day
Country of origin: USA
Price: Please contact us
Product weight:0.22kg
hipping Port: China
Payment: Bank of Chicago, Bank of Singapore
Express cooperation: fedex, DHL, UPS and your express account
Servce: Professional Sales provides 24 hours /7 days online service
620-0089C Honeywell Controller module Brand new
The maximum allowable field wiring resistance between the transmitter and the IOTA connection terminal is dependent upon the voltage requirement of the transmitter. The formula for calculating the maximum wiring resistance for the Series C UIO channel used as an analog input is given by the following equation.

All wiring and pre-fabricated cables are available.
ATTENTION
Prior to installing or servicing the FOE assembly (FOE module on the IOTA) to the carrier, the
F1 fuse needs to be removed. After mounting the FOE assembly to the carrier and securing
the power and ground screws, the F1 fuse can be re-installed.
To mount the FOE module/IOTA assembly to the carrier
1. Ensure the F1 fuse is removed.
2. Make sure each of the 4 carrier mounting screws have their spacers secured by the plastic
retaining washers.
3. Select the desired mounting location on the carrier and align the mounting holes in the IOTA
with the screw-hole locations on the carrier.
4. Using a #2 Phillips screwdriver, secure the FOE assembly to carrier using the 4 corner carrier
mounting screws.
5. Tighten the two power screws, connecting the IOTA board to the vertical bus bars on the
channel carrier assembly:
l +24 V power screw
l Com ground screw
6. This completes the procedure.
13.3.5 Connecting the IOLINK interface cable to the FOE module
ATTENTION
The lOLINK interface cable should be connected before powering the FOE module.
Prerequisites
Before connecting the FOE module's IOL interface cable to the module:
l Refer to FOE connection rules.
To connect the IOLINK interface cable to the FOE module
1. Ensure the IOLINK interface cable connector is properly aligned with the connector on the
FOE module.
2. Press plug firmly into the connector.
3. Fasten the screws on the cable connector to the FOE module.
4. This completes the procedure

.
We have the same series of models in stock. If you don't find the model you need, please contact us and we will provide you with an official quotation!
HONEYWELL 30750338-005
HONEYWELL 51403393-100
HONEYWELL 30751044-4
HONEYWELL 30751044-009
HONEYWELL 30751044-7
HONEYWELL 51403393-200
HONEYWELL 4DP7APXIO211
HONEYWELL 30750318-2
HONEYWELL 30750318-3
HONEYWELL 51196882-100
HONEYWELL 51304095-100
HONEYWELL 51400997-200
HONEYWELL 51401088-100
HONEYWELL 51400926-100
HONEYWELL 51304537-100
HONEYWELL 51401583-200
HONEYWELL 51401583-100
HONEYWELL 51401996-100
HONEYWELL 51304421-100
HONEYWELL 51304441-175
HONEYWELL 51107137-117
HONEYWELL 51196654-100
HONEYWELL 51196653-100
HONEYWELL 51400712-100
HONEYWELL 51204166-175
HONEYWELL 51401201-100
HONEYWELL 51401577
You are welcome to make an inquiry
E-mail:
free@fenoux.com
Tel.:
+86 133 7698 4225
Skype:
+86 133 7698 4225
WhatsApp:
+86 133 7698 4225