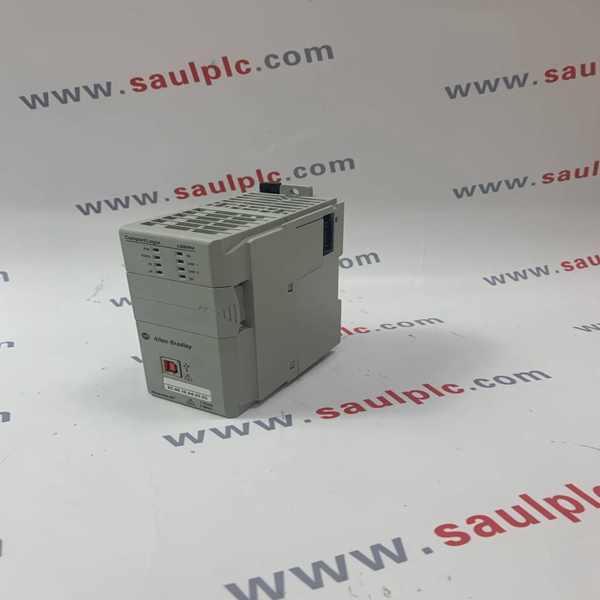
1769-L33ERM Allen- Bradley Industrial control module spot
(The picture is in the folder.)
Brand:Allen-Bradley Model number:1769-L33ERM
Colour:new Warranty: 12 months
Lead Time:3-day working day Country of origin: USA
Price: Please contact us Product weight:0.75kg
Shipping Port: Xiamen, China
Payment: Bank of Chicago, Bank of Singapore
Express cooperation: fedex, DHL, UPS and your express account
Service: Professional Sales provides 24 hours /7 days online service
Product Dimensions: The table provides product dimensions. The 5.7-in. and 10.4-in. touch-screen terminals are shown for illustrative purposes. All other terminal sizes look similar. For information on proper mounting clamp installation, refer to the PanelView Plus 7 Standard Terminals User Manual, publication 2711P-UM007.

This module requires a pre-terminated zipcord wiring kit. The kits are offered in various lengths. Consult with your local
distributor for attenuation specifications before you purchase your fiber media components. The zipcord uses a duplex
cable that contains two separate fibers, one for transmit and one for receive. If you are wiring only one channel, you can
use either channel 1 or channel 2.
1. Remove protective caps from ports that require a connection and save the caps for future storage protection.
2. Hold down the latch and insert the channel 1 zipcord connector into the A and B connectors until the pins and latch lock
into place.
Make sure that you insert the blue pin, receive, of the zipcord connector in A and the black pin, transmit, into B.
3. Hold down the latch and insert the other end of the duplex cable into another module by using either channel 1 or
channel 2 of the other module.
Connect a 1786-RPFM, 1786-RPFRL/B, 1786-RPFRXL/B Fiber Module
If you are wiring only one channel, you can use either channel 1 or channel 2.
Follow these steps to connect to channel 1, receive (RX).
1. Remove protective caps from ports that require a connection, and save for future storage protection.
2. Align the knob of the cable connector with the groove of the module connector.
3. Insert the connector into channel 1 RX.
4. Twist the receive connector until the bayonet lug locks into place.
5. Repeat these steps to connect to channel 1, transmit (TX).
Install the Ferrites (1786-RPFRL/B, 1786-RPFRXL/B only)
This procedure explains how to install a ferrite to reduce EMI interference. The ferrite connects to the relay contact
connector on the module. If you do not plan to use the relay contact connector on the module for system status, you do not
need to install the ferrites.
1. Obtain 0.25... 2.5 mm2
(22...14 AWG) wire in a length sufficient for your application.
Consider using a smaller wire gauge (for example, 0.25…0.823 mm2
(22…18 AWG) that is sufficiently sized and rated
to hand

2711P-T4W21D8S, 2711P-T4W22D8S, 2711P-T4W21D8S-B, 2711P-T4W22D8S-B, 2711P-T6C21D8S, 2711P-T6C22D8S, 2711P-T6C21D8S-B, 2711P-T6C22D8S-B, 2711P-T7C21D8S, 2711P-T7C22D8S, 2711P-T7C21D8S-B, 2711P-T7C22D8S-B, 2711P-T9W21D8S, 2711P-T9W22D8S, 2711P-T9W21D8S-B, 2711P-T9W22D8S-B, 2711P-T10C21D8S, 2711P-T10C22D8S, 2711P-T10C21D8S-B, 2711P-T10C22D8S-B, 2711P-T12W21D8S, 2711P-T12W22D8S, 2711P-T12W21D8S-B, 2711P-T12W22D8S-B, 2711P-T15C21D8S, 2711P-T15C22D8S, 2711P-T15C21D8S-B, 2711P-T15C22D8S-B
Contact person:Free
Email Address::free@fenoux.com
WhatApp: +86 133 7698 4225
We look forward to your inquiry and will get back to you as soon as possible.